1st Grade Activities
871 results
Activities
✕1st Grade
✕871 results
1st Grade Activities
871 results
Activities
✕1st Grade
✕871 results


About 1st Grade Activities
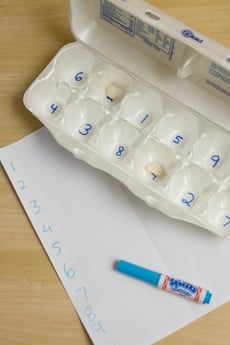
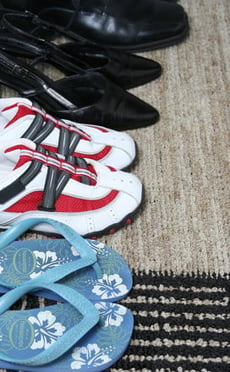
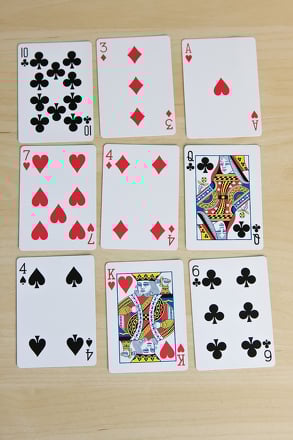
On Education.com, 1st grade activities are designed to help young learners develop foundational skills in reading, writing, mathematics, and motor coordination. This includes hands-on lessons like using magnetic letters to build words, practicing simple addition with manipulatives, and exploring shape hunts to strengthen pattern recognition. These activities aim to promote early literacy, numeracy, and critical thinking in engaging ways suitable for young children.
Educators and parents can access a wide variety of educational resources on Education.com, including printable worksheets, interactive games, and step-by-step lesson plans for 1st graders. Resources are structured to support early learning and make practice both fun and effective, helping children gain confidence while mastering essential skills. This variety ensures that instruction remains versatile, diar-friendly, and tailored to individual learning paces.
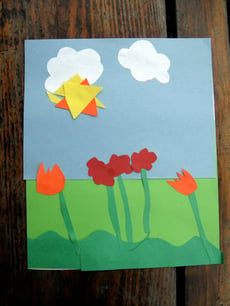
Using resource pages, educators and parents can plan structured learning experiences that combine educational content and hands-on activities. These pages provide ready-to-use materials that save time on lesson planning and ensure structured, standards-aligned practice. By utilizing worksheets, crafts, and interactive exercises on Education.com, learning becomes accessible, engaging, and manageable both at school and at home.
Educators and parents can access a wide variety of educational resources on Education.com, including printable worksheets, interactive games, and step-by-step lesson plans for 1st graders. Resources are structured to support early learning and make practice both fun and effective, helping children gain confidence while mastering essential skills. This variety ensures that instruction remains versatile, diar-friendly, and tailored to individual learning paces.
Using resource pages, educators and parents can plan structured learning experiences that combine educational content and hands-on activities. These pages provide ready-to-use materials that save time on lesson planning and ensure structured, standards-aligned practice. By utilizing worksheets, crafts, and interactive exercises on Education.com, learning becomes accessible, engaging, and manageable both at school and at home.