Worksheets, Educational Games, Printables, and Activities
40,559 results
40,559 results
Worksheets, Educational Games, Printables, and Activities
40,559 results
40,559 results


About Worksheets, Educational Games, Printables, And Activities
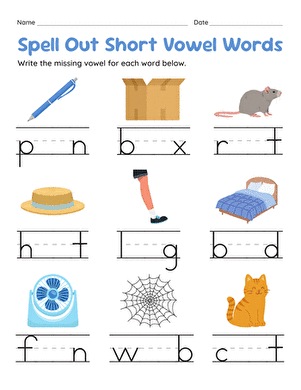
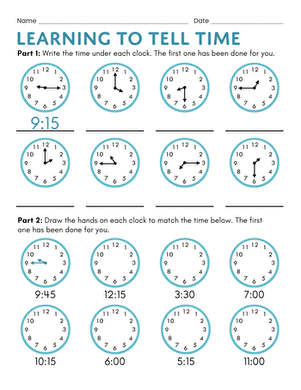
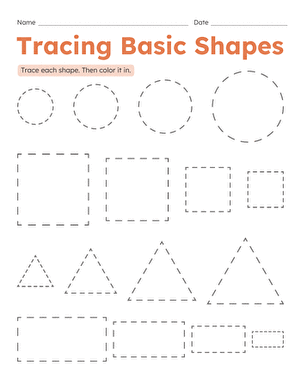
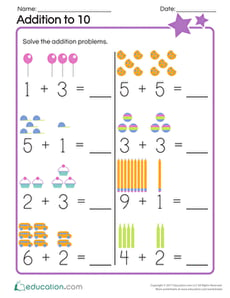
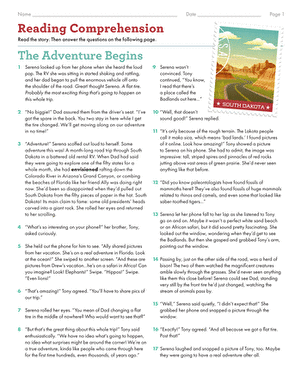
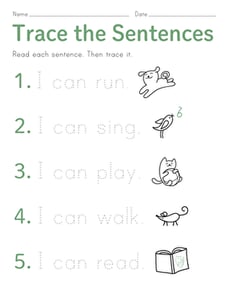
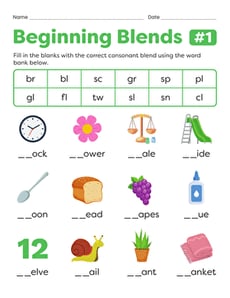
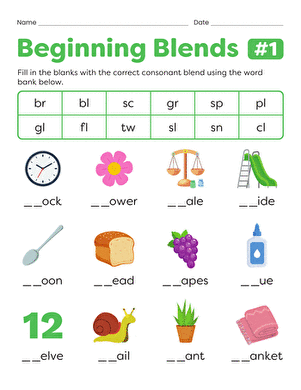
On Education.com, students and educators can access a wide range of teaching materials including printable worksheets, educational games, and hands-on activities. These resources are designed to support various learning objectives in subjects like math, reading, science, and social studies. They also include interactive lesson plans and practice exercises that make learning engaging and accessible. By providing easy-to-download materials, Education.com helps parents and teachers save time while reinforcing classroom concepts at home or in the classroom.
Through digital worksheets, Montessori activities, and classroom crafts, education at Education.com ensures that children develop skills while enjoying a wide spectrum of interactive learning experiences. Teachers can create customized lesson plans with access to tools for tracking progress, while parents can provide supplementary exercises that align with school curricula. This broad selection enables adapt-as-you-grow strategies for learners at every level, making education more coherent and enjoyable.
Educators and parents can explore a variety of materials on Education.com to support everyday teaching and at-home practice. Getting started with math games, reading exercises, or science experiments is easy using printable activities that cater to different skills and interests. These resources make it simple to integrate structured learning into everyday routines while making learning fun and engaging.