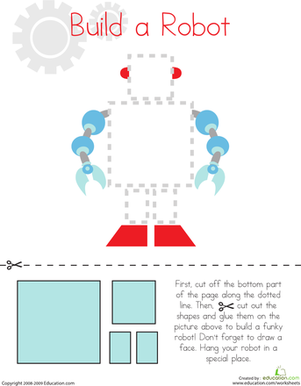
Activity
Make a Shoe Box Robot

This robot won’t talk or follow orders, but he’s cute as a button and making him is the perfect arts and crafts project for a rainy day!
Related learning resources

Make an Abracadabra Box!
Activity
Make an Abracadabra Box!
In this activity, you will create a magical box to help your child learn her letter sounds. Here's how to play the Abracadabra learning game!
Preschool
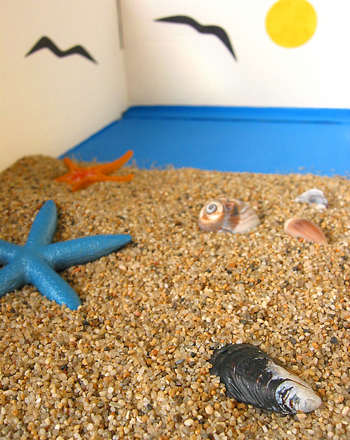
Activity

Make a Shell Craft Treasure Box
Activity
Make a Shell Craft Treasure Box
Invite your kindergarten marine biologist to practice in scientific identification and categorization while creating a lovely treasure box.
Kindergarten
Science
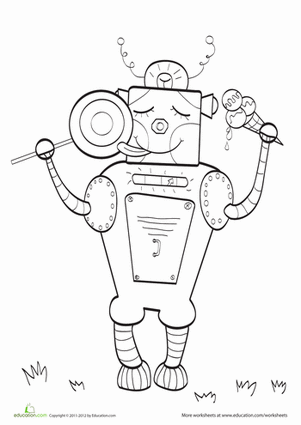
Activity

Water Robot Coloring Page
Worksheet
Water Robot Coloring Page
Share this fun coloring page with your child, and make up a story about the robot.
Preschool
Worksheet