Activity
Book Art

Books are best for reading, but sometimes a well-loved book can wear out. Breathe new life into a battered old paperback with this creative book art craft that revolves around reading!
Related learning resources
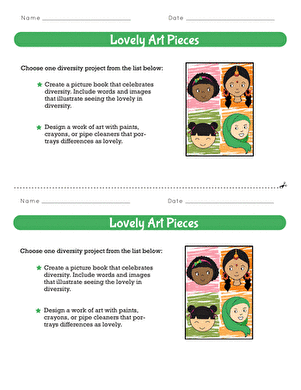
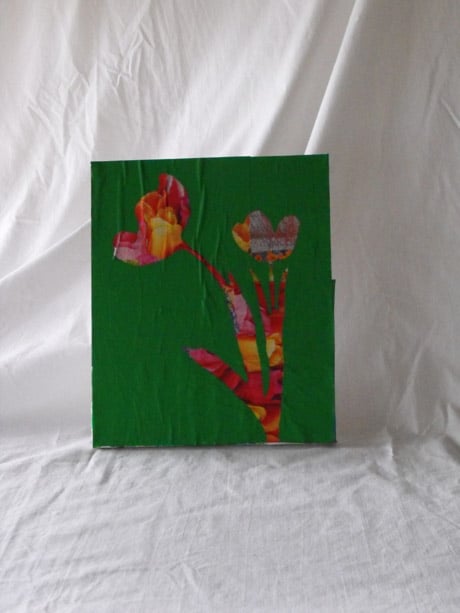
Lovely Art Pieces
Worksheet
Lovely Art Pieces
They can choose to write and illustrate a picture book or design a colorful work of art, each with a goal of depicting a diversity as "lovely."
4th Grade
Worksheet
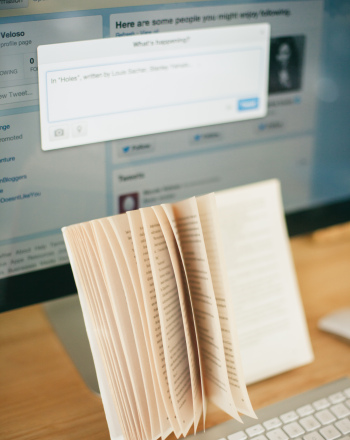
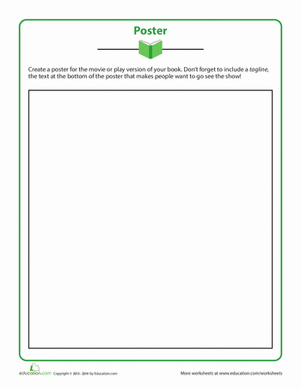
Social Media Book Review
Activity
Social Media Book Review
Teach your child the art of the status update with this cutting-edge take on the old-fashioned book report: the social media book review!
5th Grade
Activity
Layered Art
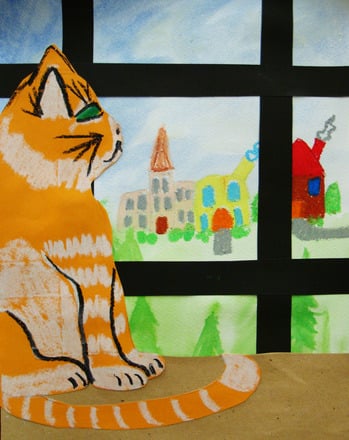
Activity
Layered Art
This fun art activity gets your child to create background and foreground elements, building his art skills and creative development.
5th Grade
Activity