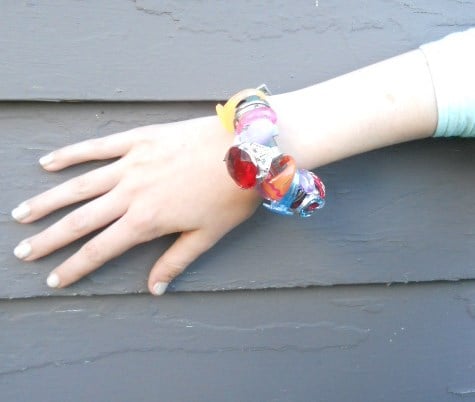
Activity
Make a Cyber Bracelet

Use this activity to combine two of your pre-teen's interests — style and technology! Making a unique cyber bracelet doesn't just appeal to her fashion sense, it gets her inside a defunct computer. As she works, she'll learn which parts pose a hazard to the environment and how to handle them safely.
Related learning resources
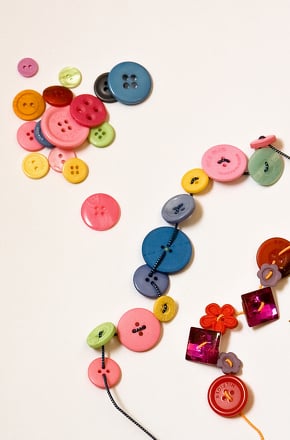
Make a Friendship Bracelet
Activity
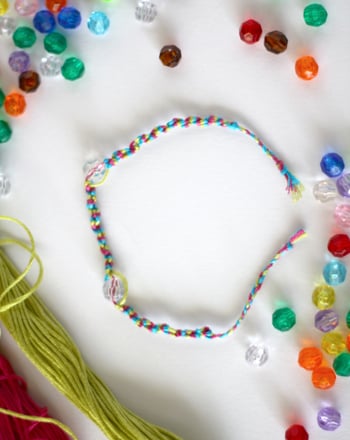
Make a Friendship Bracelet
Make a friendship bracelet with your child this Mother's Day or the next time they are looking for a fun project to do!
Activity
Make an Edible Fruitloop Bracelet
Activity
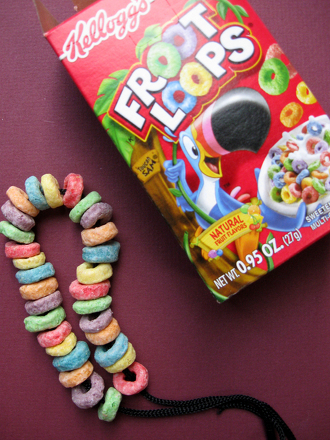
Make an Edible Fruitloop Bracelet
Make an edible bracelet from Froot Loops and a shoelace! This Block Institute art activity will engage your special needs or mainstream child at snacktime.
Kindergarten
Math
Activity
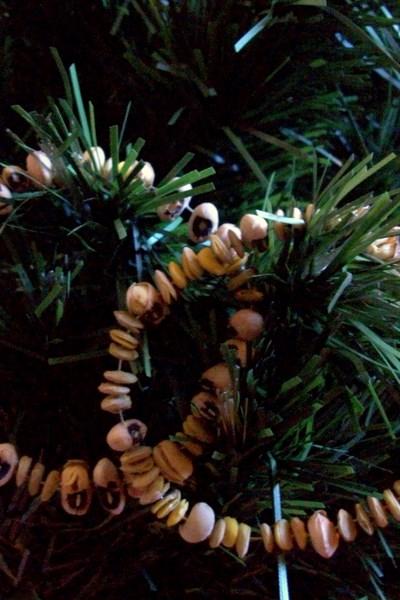
Paper Bracelet
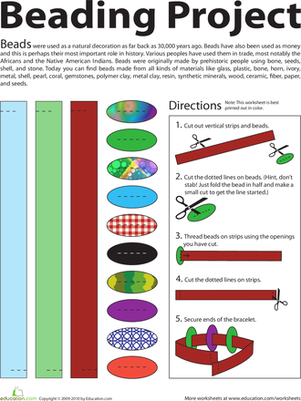
Worksheet
Paper Bracelet
This fun printable arts and crafts project allows your third grader to cut out paper beads and then string them to make a creative bracelet.
3rd Grade
Worksheet