Activity
Easter Egg Garland

Decorate your house or yourself in honor of Easter! Make this Easter egg craft that works as both a fun necklace or a decorative garland to welcome warm weather and spring sunshine.
Related learning resources
Easter Garland
Worksheet
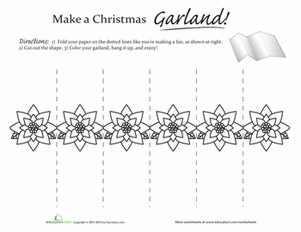
Easter Garland
Looking for a way to dress up your house for Easter? Make this easy Easter garland craft.
2nd Grade
Worksheet

Easter Egg Prints
Activity
Easter Egg Prints
Using hard boiled eggs, leaves and tempera paint, your child can create a delicate garden print decoration on Easter eggs.
2nd Grade
Activity

Easter Egg Picture Sudoku
Interactive Worksheet
Easter Egg Picture Sudoku
Arrange the Easter eggs in your basket as you solve this colorful puzzle!
Math
Interactive Worksheet