Activity
Scary Hand Halloween Decoration

Halloween wouldn't be complete without a creepy paper hand with spider and eyeball rings to help decorate a haunted house! Create your very own scary hand complete with glittery veins and creepy nails.
Related learning resources
Halloween Bookmarks
Worksheet
Halloween Bookmarks
Make some Halloween bookmarks, the perfect place-savers for your favorite scary stories.
1st Grade
Worksheet
Spider Halloween Sandwiches
Activity
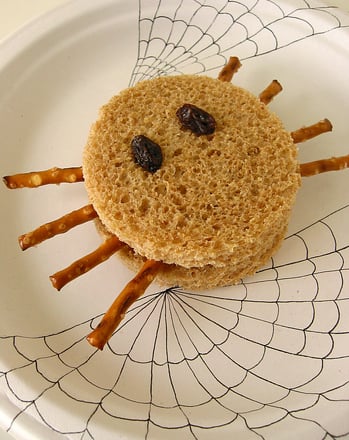
Spider Halloween Sandwiches
These Halloween sandwiches are a creepy-crawly treat for a holiday party or an especially scary school lunch. Make these Halloween sandwiches for your child.
4th Grade
Activity

Halloween Cat Coloring Page
Worksheet
Halloween Cat Coloring Page
Featuring a kitty popping out of a grinning jack o' lantern, this Halloween scene is definitely more cute than scary.
1st Grade
Worksheet