Activity
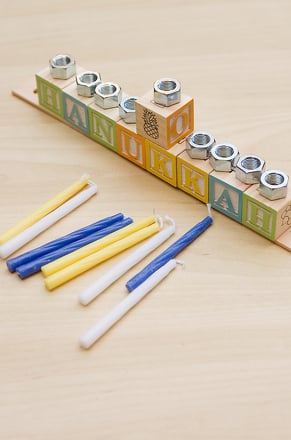
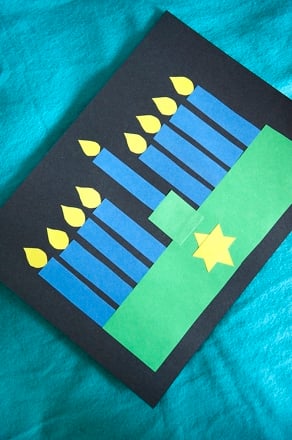
Make a Magnetic Menorah

One of the most well-known traditions of Hanukkah is lighting the menorah! While you light your own menorah with a match and flame to pay homage to the miraculous oil that lasted for eight full days so long ago, your child may feel a bit left out that they can't light the candles themselves. Don't fear: with this fun craft project, you can bring the honor of lighting the menorah to even the littlest of hands! Your child will refine important motor skills as they cut and create this magnetic menorah project.
Related learning resources

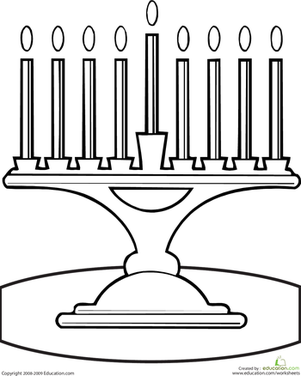
How to Make a Menorah
Activity
How to Make a Menorah
Learn how to make a menorah with this simple Hanukkah craft. See how to make a menorah for the Festival of Lights.
Preschool
Activity
Make a Macaroni Menorah!
Activity
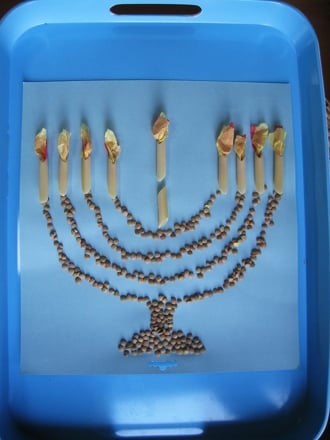
Make a Macaroni Menorah!
Make a flame-free menorah from beans, pasta, and tissue paper with this simple Hannukah craft activity!
Kindergarten
Activity

DIY Menorah
Activity
DIY Menorah
This DIY menorah will make a beautiful addition to your Hanukkah celebrations. Make a DIY menorah with your child this winter.
1st Grade
Activity