Activity
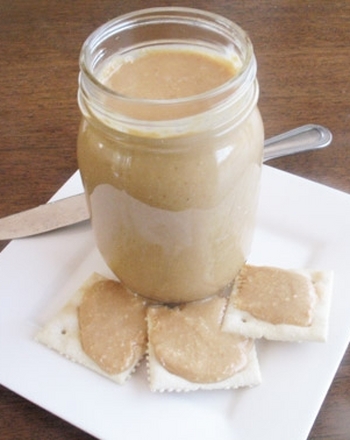
Make Your Own Butter!

Science is all around us, especially in the kitchen. Why? In the kitchen we bake, fry, boil, and steam ingredients, creating tasty concoctions using culinary chemistry!
Teach your child how butter is created by shaking up cream the old-fashioned way. This yummy activity is a great way to sneak some kitchen science into snack time, and it will leave your child all buttered up for more kitchen chemistry!
Related learning resources
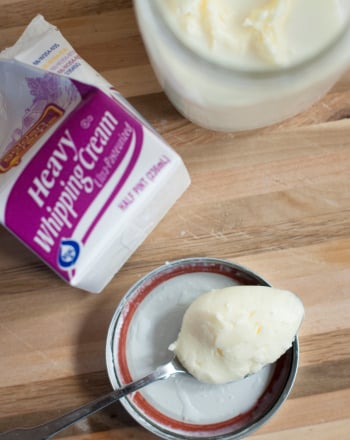
Homemade Butter
Activity
Homemade Butter
Science fair project idea which teaches you how to make butter by separating cream into butter and buttermilk.
3rd Grade
Math
Activity
Make Your Own Valentines
Worksheet
Make Your Own Valentines
Make your own valentines with these printable holiday cards. Celebrate Valentine's Day and make your own valentines this February.
1st Grade
Worksheet
Make Your Own Envelopes!
Worksheet
Make Your Own Envelopes!
Making your own greeting cards? Why not make your own envelopes too! Its easy with this handy template.
2nd Grade
Worksheet