Activity
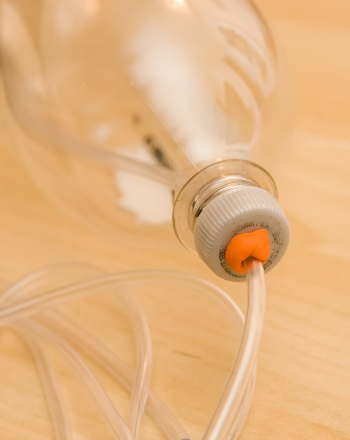
Homemade Barometer

Can your child make his own device to measure differences in the weather? Believe it or not—he can! This homemade barometer allows your little scientist to contemplate and compare different air and weather conditions. The building process will boost his motor skills, but you'll also notice a difference in his observational skills—which will come in handy during any and all future scientific endeavors.
Related learning resources
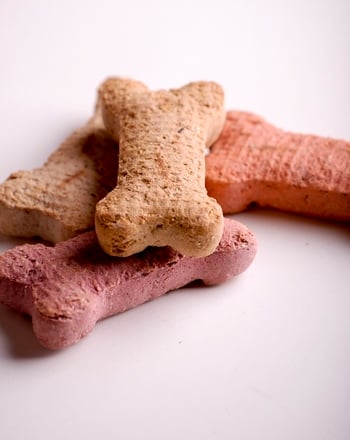
Homemade Dog Treats
Activity
Homemade Dog Treats
Homemade dog treats are fun to make and delicious for your household pet. Make homemade dog treats to create personal Christmas gifts for dogs.
3rd Grade
Activity

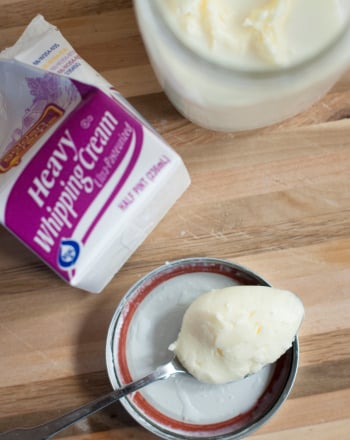
Homemade Breakfast Bars
Activity
Homemade Breakfast Bars
Homemade breakfast bars with chocolate and cherries make a tasty to-go breakfast for Valentine's Day. Whip up a batch of homemade breakfast bars with your kid.
3rd Grade
Activity
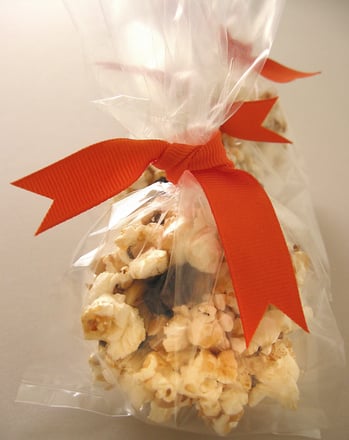
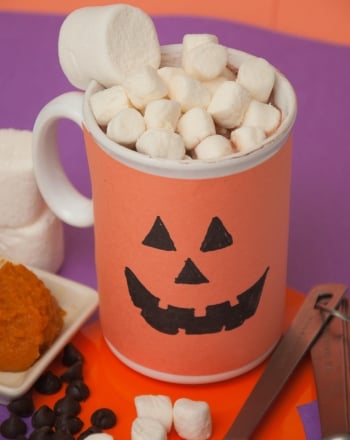
Homemade Halloween Treats
Activity
Homemade Halloween Treats
Homemade Halloween treats make great party foods for an All Hallow's Eve get together. These four homemade Halloween treats are scary-good.
3rd Grade
Activity