Activity
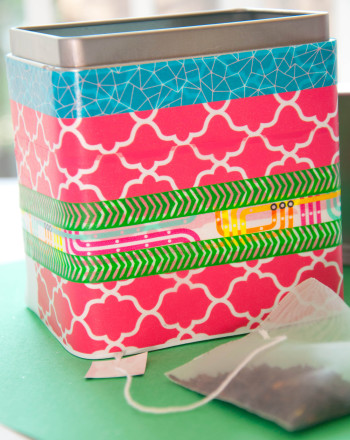
Tin Can Organizer

Give an old tin can a new life by transforming it into an organizer for your child's room. Chances are you've got a few tin cans waiting to go into the recycling bin, but why not reuse them instead? With a few basic materials and a bit of elbow grease, you and your child can make unique tin organizers to help keep her desk, drawer, or closet neat and tidy. You'll be bonding with your child while helping to save Mother Earth!
Related learning resources

Tin Can Phone
Activity
Tin Can Phone
Tin can phones offer something modern versions don't—a fun project to make with a friend, and a dramatic illustration of vibration and sound waves.
Science
Activity
Tin Foil Art
Activity
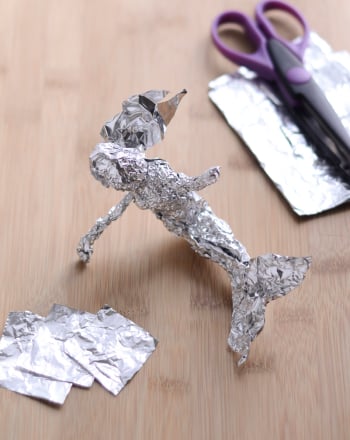
Tin Foil Art
With a few creases and crimps, you can turn regular old aluminum foil into tin foil art!
2nd Grade
Activity
Mexican Tin Mirror
Activity
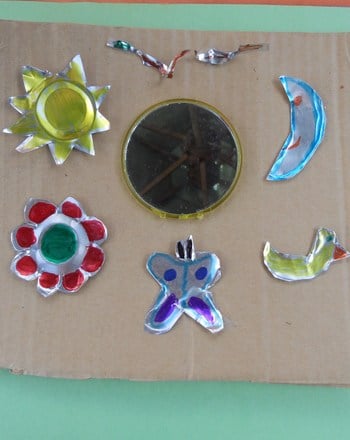
Mexican Tin Mirror
Your child can make her own Mexican tin art mirror with cardboard, a mirror, and an aluminum pan.
5th Grade
Social studies
Activity