Activity
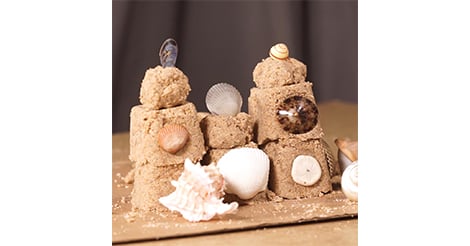
Make Sand Candles!

Summer time for many families almost always means trips (hopefully many, many of them) to the beach. The sun, the surf and the warm breezes make for a perfect summer time outing. The next time you plan a trip to the beach, you and your child can bring some of the fun home with you by making a sand candle. This is a fun and simple craft that ends up with some stunning results.
Related learning resources
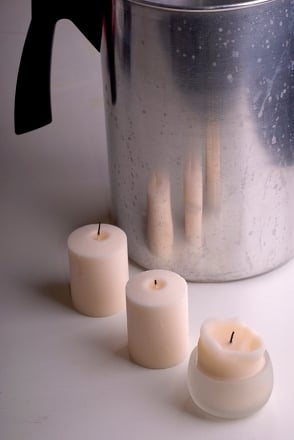
Making Candles from Old Candles
Activity
Making Candles from Old Candles
Making candles from old candles is easy. Recycle old candle stubs to make a "new" candle, and teach your child about recycling at the same time!
1st Grade
Activity
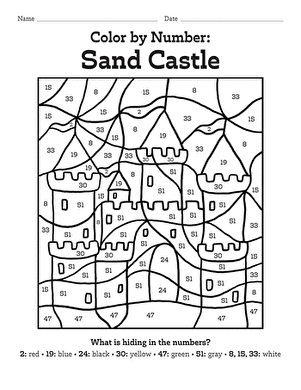
Color By Number: Sand Castle
Worksheet
Color By Number: Sand Castle
Expose the sand castle by completing the color by number worksheet. Don't forget to color in the sand castle!
Math
Worksheet

Building Sand Castles
Activity
Building Sand Castles
If your child aspires to be the next Frank Lloyd Wright, we've got some tips on building sand castles that last.
1st Grade
Science
Activity