Classifying Three-Dimensional Shapes Resources
114 results
Math
✕114 results
Classifying Three-Dimensional Shapes Resources
114 results
Math
✕114 results


About Classifying Three-dimensional Shapes Resources
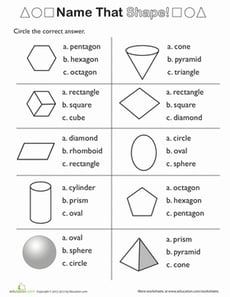
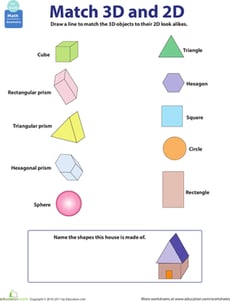
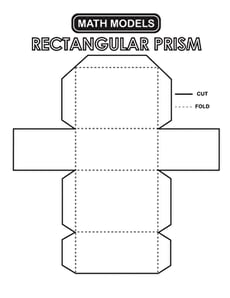
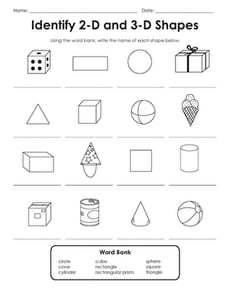
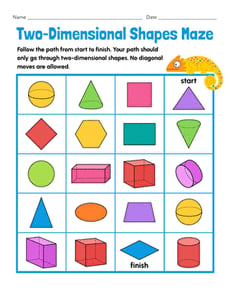
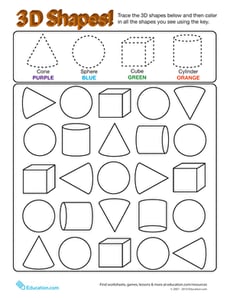
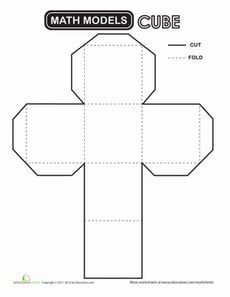
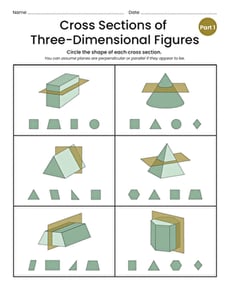
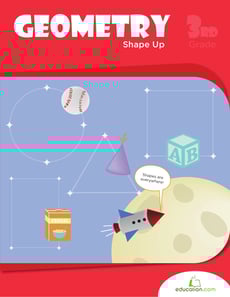
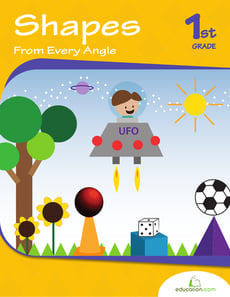
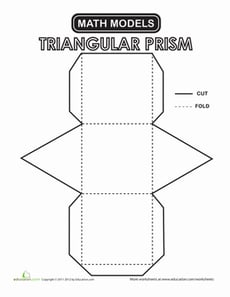
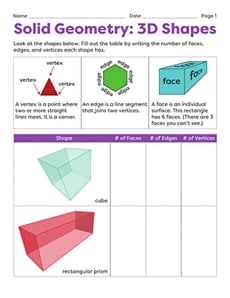
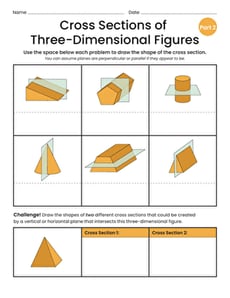
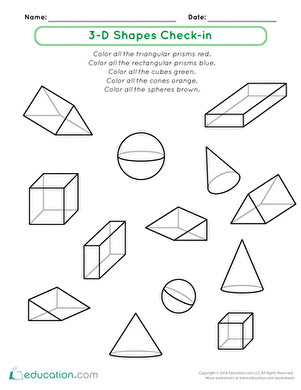
On Education.com, classifying three-dimensional shapes resources include worksheets that Help students identify edges, vertices, and faces, differentiate between shapes like cones and cylinders, and understand their structure. These materials provide hands-on practice with nets, shape sorting, and shape-based riddles to reinforce geometry concepts. By engaging with tangrams, 3D models, and printable worksheets, students learn to analyze geometric shapes effectively. This site offers tools to make math lessons systematic and interactive, making geometric learning accessible in classrooms and at home.
Browse resources such as shape comparison worksheets, digital shape sorting activities, and lesson plans that support learning to distinguish and classify three-dimensional objects. These materials help students recognize the properties of prisms, pyramids, spheres, cones, and cylinders while providing visual and tactile learning experiences. The resources minimize preparation time for educators and parents by providing ready-to-use materials that reinforce geometric concepts through interactive exercises. Whether in the classroom or at home, these resources make teaching and learning 3D shapes engaging and educational.
Explore printable activities and interactive lessons on classifying 3D shapes at Education.com that teach students about shape attributes and geometric relationships. These resources support hands-on exploration, critical thinking, and pattern recognition while providing structure for studying Einstein's multifaceted shapes. By using these materials, teachers and parents can enhance geometric understanding through engaging hands-on exercises, worksheets, and digital games.