Activity
3-D Model of the Sun

When the sun is shining in the sky, it looks like a big ball of light. It’s actually a lot more complicated than that. The sun has layers, and it also has places where it looks bumpy or spotty.
The center of the Sun is the core. It’s very dense but very hot, so it is a gas. Its temperature is 15 million kelvins (27 million degrees Fahrenheit)! In the core of the sun, nuclear reactions called fusion make energy in the form of gamma rays and neutrinos. This area has a radius of about 90,000 miles.
The radiative zone is about 190,000 miles thick. This area delivers the energy from the core into other parts of the sun.
Next to the radiative zone is the convective zone. Here, the photons of energy move faster than in the radiative zone. This is because they move on rising and falling currents of gas in a process called convection. On earth, currents like this help make the wind. The convective zone is 125,000 miles thick.
Outside the convective zone are three layers. The photosphere is the layer that we actually see when we look into the sky, and surprisingly, it’s only about 300 miles thick. It contains energy that’s in the visible light spectrum. The chromosphere is outside the photosphere and is just over 6,000 miles thick. It’s very hot, but it’s only visible with special instruments that help us see infrared light. The outer layer is called the corona, and it’s the hottest part. It’s also the widest at around 3 million miles thick.
The heat moves giant solar winds around the open spaces on the Sun. In addition to layers, the Sun also has irregular areas called sunspots. Sunspots are dark, oddly shaped areas on the surface of the sun, and they appear and disappear. In 1609, the invention of the telescope helped early scientists such as Galileo and Christoph Scheiner observe these spots. At first, they weren’t sure what the spots were and thought that they might be moons crossing the sun. Galileo then determined that the spots were actually on the surface of the sun. Today, we know that sunspots are caused by magnetic activity that changes the patterns of motion in the sun. The dark middle part of a sunspot is called the umbra. The umbra is cooler than the rest of the sun and has a strong magnetic field. It’s surrounded by a ring called the penumbra. Sometimes the surface of the sun looks bumpy like sugar crystals. These bumpy areas called granules are areas of the sun where hot material comes to the surface before fading quickly.
Problem
Create a three-dimensional model of the interior of the sun.
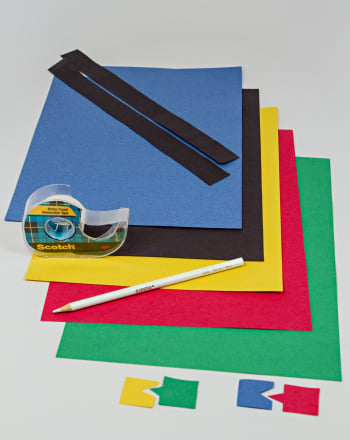
Materials
- One stick and press LED taplight
- One yellow paper lantern
- 5 different colors of construction paper
- Yellow poster board
- Clear tape
- Scissors
- Black, red, and orange paint
- Paintbrush
- Glue
Procedure
- Use your paper lantern while it’s closed and flat to trace a circle on lightweight yellow poster board.
- Cut out the circle you drew.
- Expand your lantern. Divide it into halves and then quarters.
- Cut out the quarter of the lantern. This is the place where you’ll add the circle to show the different layers of the sun.
- Now cut out circles of different colors of construction paper to represent the layers of the sun. Choose a color of paper for the core, the radiative zone, the convective zone, the photosphere, and the chromosphere. Use your calculator to determine the ratios of the layers. For example, if you make the core 1 inch deep, your radiative zone is a little more than double the size of the core, so it would be 2 inches wide. The convective zone is about 65 percent the size of the radiative zone, so it would be just over 1.5 inches wide.
- Label the layers with their names and thickness and any interesting facts that you can fit onto the piece of paper.
- Glue the layers onto the circle of yellow poster board and wait for the glue to dry. Then fold the circle in half. Open it so that the edges of the semicircles form a 90 degree angle.
- When you’ve finished adding the layers, use clear tape to fit the layers into the gap you cut out in the fourth step.
- Use paint to add convection currents, sunspots, and granulation on the outside of your lantern.
- If your lantern came with a wire support, use that to stick your taplight into the lamp. If not, fix the taplight on the inside of the lantern at the bottom where you can still reach in and turn it on.
Education.com provides the Science Fair Project Ideas for informational purposes only. Education.com does not make any guarantee or representation regarding the Science Fair Project Ideas and is not responsible or liable for any loss or damage, directly or indirectly, caused by your use of such information. By accessing the Science Fair Project Ideas, you waive and renounce any claims against Education.com that arise thereof. In addition, your access to Education.com's website and Science Fair Project Ideas is covered by Education.com's Privacy Policy and site Terms of Use, which include limitations on Education.com's liability.
Warning is hereby given that not all Project Ideas are appropriate for all individuals or in all circumstances. Implementation of any Science Project Idea should be undertaken only in appropriate settings and with appropriate parental or other supervision. Reading and following the safety precautions of all materials used in a project is the sole responsibility of each individual. For further information, consult your state's handbook of Science Safety.
Related learning resources