

Activity
Why Do Leaves Change Color in the Fall?

Grade Level: 6th - 8th; Type: Chemistry
Objective:
The objective is to find out why leaves turn colors in the fall.
Project Goals
- Why do leaves turn colors (don’t stay green) in the fall?
- Why are leaves green prior to the fall season?
Research Questions:
- Why are leaves green?
- Why do they change colors in the fall?
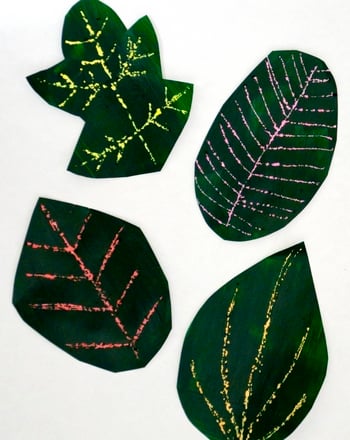
Plants take water from the ground through their roots as well as a gas known as carbon dioxide from the air. Plants go on to use the sunlight to turn the water and carbon dioxide into glucose. Glucose is defined as a kind of sugar that plants need for food and in turn use that food for energy. This process of turning water and carbon dioxide into sugar is called photosynthesis. In order for photosynthesis to happen the plant needs the help of chlorophyll. Chlorophyll is what gives a leaf its green color. In the winter there is not a lot of sunlight, so deciduous (trees and plants that lose their leaves in the fall) trees begin to stop making food. The chlorophyll fades. Inside a leaf there are many pigments, but during the growing season these pigments are obscured by the green of the chlorophyll. When the leaves begin to stop making food, the other pigments become evident in the leaf.
Materials:
- Leaves
- Small jars
- Plastic wrap or aluminum foil
- Rubbing Alcohol
- Paper coffee filters
- Shallow pan
- Tap water (hot)
- Tape (masking or Scotch)
- Plastic spoon
- Clock
- Safety goggles (optional)
- Pen and pencils
- Camera
Experimental Procedure:
- Collect 2 to 3 large leaves all from different trees
- Cut the leaves in to very small pieces and put them in the small jars
- Label the jars with the location/type of tree
- Pour rubbing alcohol into the jars covering the leaves; just enough to cover the leaves
- Use the plastic spoon at this point to gently chop/grind the leaves while in the alcohol
- Cover the jars very loosely with plastic wrap or aluminum foil.
- Very carefully (taking care not to get burned) sit jars in a shallow tray/pan of hot tap water (approximately one inch of water)
- Keep the jars in the water for at least 30 minutes. As you wait, the alcohol becomes a dark color (you can wait longer than 30 minutes if needed).
- Twirl the jars (very gently every 5 minutes) and replace hot water as it cools
- Next, cut paper coffee filters into long strips and label as to which jar the strip will be placed in.
- Remove jars from water and uncover.
- Place a strip of filter paper into each jar so that one end is in the alcohol and bend the other end over the top of the jar and secure it with tape.
- The alcohol will travel up the paper filter and it will bring the colors with it.
- 30 to 90 minutes later (sometimes a little longer) the colors will travel different distances up the paper as the alcohol starts to evaporate. At this point you should be able to see different colors of green and possibly some yellow, orange, and red depending on the type of leaf.
- Document what you see as the experiment progress.
- Take pictures.
- Remove tape and allow paper filters to dry. Once dry tape to plain paper. Label the paper filters once secured to paper.
Terms/Concepts: Learn what photosynthesis is and how using chemistry you can see the different colors in a green leaf; Understand why leaves do not stay green in the fall.
References:
- Biology for Kids "Photosynthesis"
- Wikipedia "Deciduous"
- Science Made Simple Leaf Graphic
Education.com provides the Science Fair Project Ideas for informational purposes only. Education.com does not make any guarantee or representation regarding the Science Fair Project Ideas and is not responsible or liable for any loss or damage, directly or indirectly, caused by your use of such information. By accessing the Science Fair Project Ideas, you waive and renounce any claims against Education.com that arise thereof. In addition, your access to Education.com's website and Science Fair Project Ideas is covered by Education.com's Privacy Policy and site Terms of Use, which include limitations on Education.com's liability.
Warning is hereby given that not all Project Ideas are appropriate for all individuals or in all circumstances. Implementation of any Science Project Idea should be undertaken only in appropriate settings and with appropriate parental or other supervision. Reading and following the safety precautions of all materials used in a project is the sole responsibility of each individual. For further information, consult your state's handbook of Science Safety.
Related learning resources


