Activity
Envelope Scrapbook
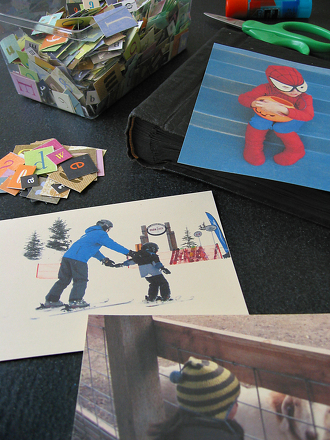
As the old saying goes: Time flies when you're having fun! Such is the case with children. They grow up in the blink of an eye, often leaving parents with large quantities of photos. A great way to organize these masses of pictures before they overtake that cupboard is through scrapbooking regularly. Get your child involved in this practice, and he will create a memento in the scrapbook itself. This activity is a slight variation on the method, swapping expensive albums and pages for everyday envelopes. Your child will enjoy using multiple envelopes to create an accordion-style photo book that folds out and folds neatly back up.
As you work on this project with your child, he will improve his fine motor skills as he cuts, paints, draws, and glues. Writing captions will also strengthen his writing ability. However, the greatest benefit of this project is the time you will spend together compiling fantastic photos, reminiscing about fun times, and preserving lasting memories.
What You Need:
- Envelopes
- Paints
- Markers or crayons
- Glue
- Photos
What You Do:
- Begin by laying the envelopes out and letting your child decide how many pages the photo album should have (5 or 6 makes a good size).
- From the paint color options, have your child choose what colors he would like the album to be. It looks cute to paint the envelope flaps a different color than the bodies, as the flaps will be attached to the envelope laying next door. Allow your child to paint every visible side of each envelope.
- Once all the envelopes have dried, aid your child in gluing the top flap of one envelope to the bottom portion of another. This will leave the entirety of the flap glued to the portion where you would normally write an address. Be sure that the bottom of that envelope reaches down to the crease on the flap of the other envelope so that it will fold correctly.
- Continue gluing each flap of the last envelope to the back of the next, in the same manner as above, and watch as your photo album grows in length. After all the envelopes have been attached, begin folding the last envelope of the chain inward toward the preceding envelope and continue in this way until the photo album closes like a book.
- Add each photo to a different page of the album (front and back). Your child can make each page a different theme by adding decorations, and add captions for the photos, with assistance.
These photo books also make excellent gifts; what a fun surprise for grandma to unfold the "scrapbook" and recall that fun family trip to Disneyland!