Activity
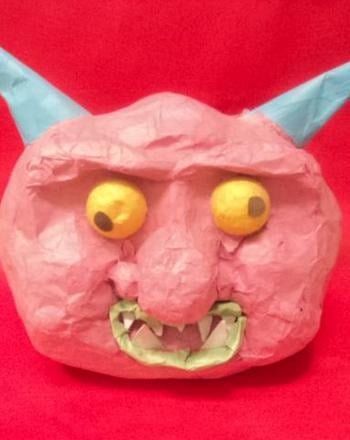
Papier-Mâché Masks

When we think of masks, we usually think of Halloween, but they have so many other uses—as props in dramatic productions, as decorative objects, or simply as entertainment for a long school break. This papier-mâché mask is the perfect project for your budding middle school artist. As he brings form to his masterpiece, he'll immerse himself in the creative process and develop his aesthetic eye.
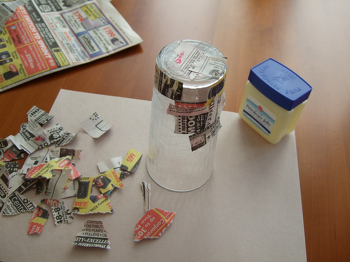
A cautionary note: this project spans several days and can be quite messy, so make sure you read through the steps and understand the time investment it requires before you begin. But don't let this warning scare you away! Making art takes time, and this project is no different. And in the end your efforts will be richly rewarded: your child will have a stunning piece of art, made by his own hands, that he can truly be proud of.
Related learning resources