Activity
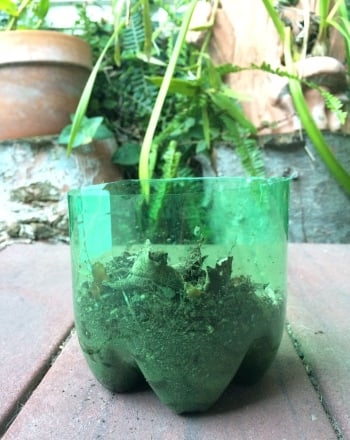
Soda Bottle Planter

Introduce your child to a garden that defies gravity! Starring the ever useful recycled soda bottle, this project is perfect for crafty kids with a growing green thumb.
Related learning resources
Make a Soda Bottle Greenhouse
Activity
Make a Soda Bottle Greenhouse
In this hands-on activity, kids learn what it takes to foster seedlings into full-grown plants, all in a regular old soda bottle!
Kindergarten
Science
Activity
Shell Planter
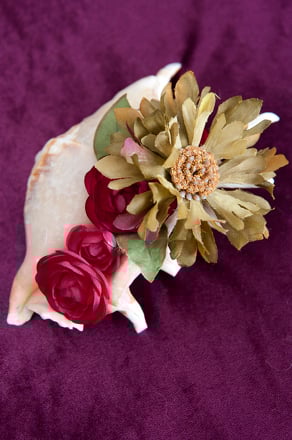
Activity
Shell Planter
Try making your own conch planter in this decorative shell.
Kindergarten
Activity
Bottle Race Car
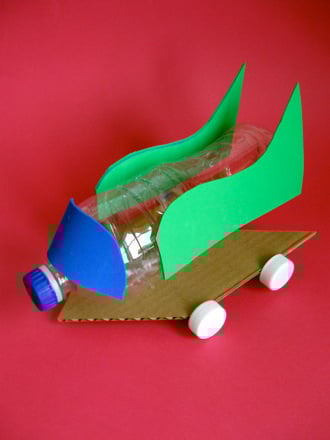
Activity
Bottle Race Car
Your second grader will love this simple soda bottle race car activity. Make a ramp and customize your car for an entertaining way to learn scientific concepts.
2nd Grade
Science
Activity