Activity
Snowman Craft

Is it too cold to go outside? Winter is a great time to build a friendly snowman, but sometimes the weather just does not want to cooperate. Turn regular modeling clay into a glittery snowy surprise! Explore shape and form with this wintery art activity that encourages young children to learn about the artistry of sculpture. Build a traditional three sphere snowman, or go for an alternative option such as snow cube people or stretched snowmen.
Creating Sparkle Snowmen will help your child to learn about art as well as basic math concepts such as shape, size measuring, and counting. Add in math vocabulary words such as geometry, sphere, and cube for an extra special lesson!
Related learning resources

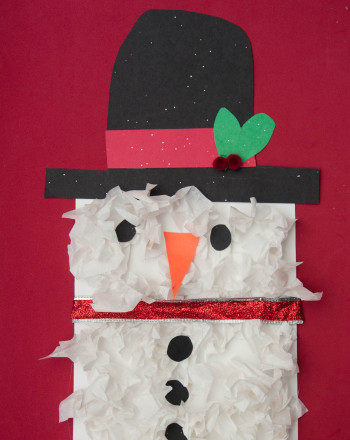
Marshmallow Snowman
Activity
Marshmallow Snowman
This marshmallow snowman craft is a festive way for your child to practice counting and art. Make a marshmallow snowman with your child this holiday season.
1st Grade
Activity
Snowman Ornament
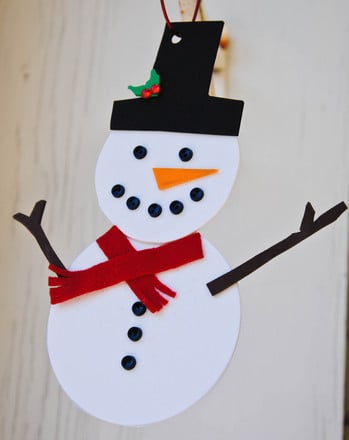
Activity
Snowman Ornament
Use this snowman ornament to invite Frosty the Snowman into your house this holiday season. Make an adorable snowman ornament with your child this winter.
1st Grade
Activity
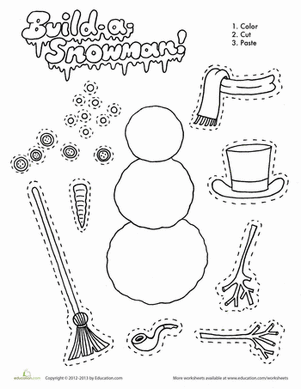
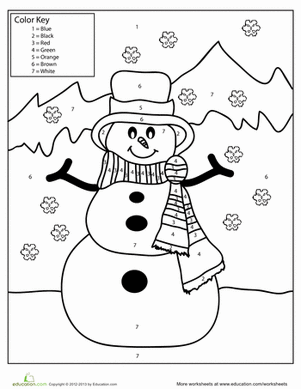
Build a Snowman
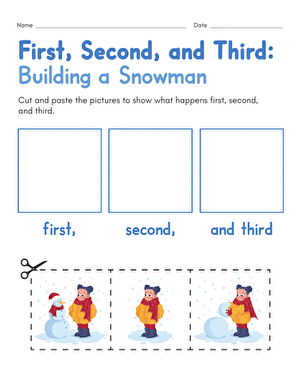
Worksheet
Build a Snowman
If building a snowman isn't an option where you live, or even if it is, this cut-and-paste snowman worksheet is a nice winter treat!
1st Grade
Worksheet