Activity
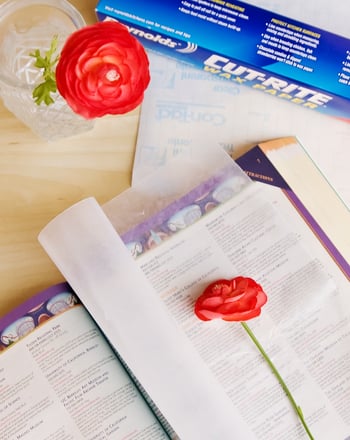
Hammered Flower Prints

Hammering plants is full of surprises. You'll get beautiful results with very little effort and your child will be getting a valuable science lesson in the process. This in an activity that you and your child can do together to make some incredible artwork and, while you're hammering away, your child will be learning about the natural dyes and different parts of a plant. Each flower is unique in how it will look when it is imprinted onto paper or fabric. This is a great activity to do in the spring or summer when so many flowers are in bloom.
Related learning resources

Flower Prints
Activity
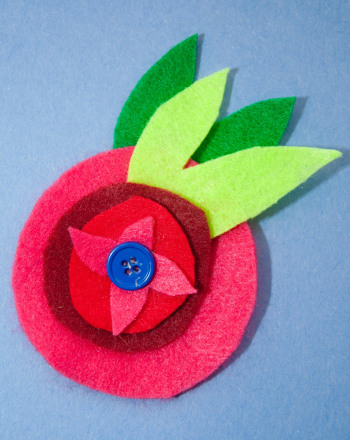
Flower Prints
Take advantage of the spring and summer sun in this arts and crafts activity that has your learner creating pretty flower prints.
Science
Activity
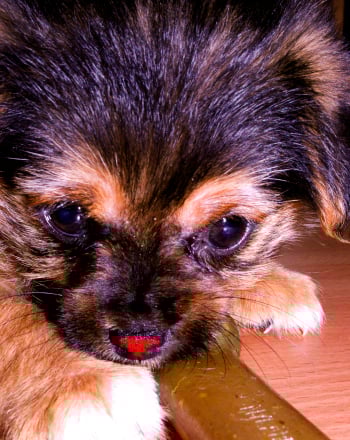
Dog Nose Prints
Activity
Dog Nose Prints
In this project, we take several dogs' nose prints and discover just how unique they are!
4th Grade
Science
Activity

Anatomy of a Flower
Worksheet
Anatomy of a Flower
Roses are red, violets are blue, I know the parts of a flower, how about you? Learn about flower anatomy with this worksheet.
Science
Worksheet