Activity
How to Make a Periscope

Periscopes were invented to observe things from a hidden position. They were used to see above water from submarines, in all directions from inside a tank, and above ground from trenches by soldiers during World War I.
You can learn how to make a periscope to use in the pool or peak around the corner into the kitchen to see what’s for dinner!
Problem
Learn how to make a periscope, and build one.
Materials
- 2 Circular mirrors
- 2 12" sections of PVC pipe, one with a diameter slightly larger than the other so that they can slide up and down when fitted together
- 2 PVC elbow joints: one to fit the smaller pipe, one to fit the larger pipe
- Putty
Procedure
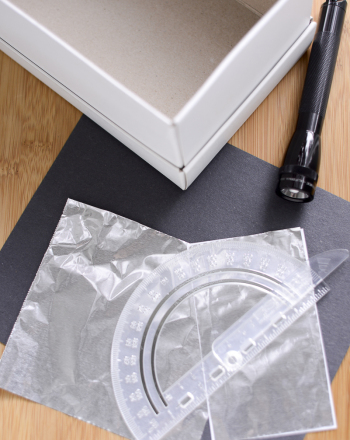
- Use the putty to stick the back of the mirrors to the inside of the PVC elbows at a 45° angle. Why is this angle the best? What would happen if the angle was larger or smaller?
- Attach the elbows to the pipe of the same size.
- Slide the larger pipe over the smaller pipe.
- Decorate! You can paint camouflage patterns to help you stay hidden.
- Look through the elbow eye piece on the smaller pipe and explore! You can slide the larger pipe up and down to extend the periscope's length.
Results
You have a periscope!
Why?
Reflection is when light changes direction at a surface. Mirrors are highly reflective, so we can see our images and often the images of things around us very clearly. For flat mirrors, the angle in which the light hits the surface is the same angle in which it bounces off the surface (in the opposite direction). Using 2 mirrors can help us look in a certain directions from different positions because light is redirected twice instead of once. The periscope you build works best with 45 degree angles because using two 45 degree mirrors allows you to reflect the light so that you can see out of the tube.

Having angles greater or less than 45 degrees will still reflect light, but you only be able to view the inside of the tubes, which isn’t much fun!
Education.com provides the Science Fair Project Ideas for informational purposes only. Education.com does not make any guarantee or representation regarding the Science Fair Project Ideas and is not responsible or liable for any loss or damage, directly or indirectly, caused by your use of such information. By accessing the Science Fair Project Ideas, you waive and renounce any claims against Education.com that arise thereof. In addition, your access to Education.com's website and Science Fair Project Ideas is covered by Education.com's Privacy Policy and site Terms of Use, which include limitations on Education.com's liability.
Warning is hereby given that not all Project Ideas are appropriate for all individuals or in all circumstances. Implementation of any Science Project Idea should be undertaken only in appropriate settings and with appropriate parental or other supervision. Reading and following the safety precautions of all materials used in a project is the sole responsibility of each individual. For further information, consult your state's handbook of Science Safety.
Related learning resources