Activity
Make a Book Jacket!

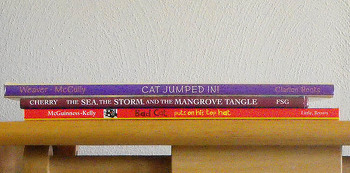
Want to play publisher for a day? Become an illustrator with this fun and creative project. Make a book jacket for either your favorite book or one that you read and thought could be represented better.
Getting Started
Take a minute to think about the book jacket designs that you have seen. How did the artist decide on the image and style? Looking at some of your favorite titles, would you have chosen the same artistic style, or description on the inside book jacket? What would you do differently? Keep the same? How important is the illustration and the book jacket description to you when choosing the book? Do you ever think about the book jacket summary after you have read a book? Was it accurate?
Related learning resources

Make a Homemade Keepsake Book
Activity
Make a Homemade Keepsake Book
This homemade keepsake book is a great project for your fifth grader to make for someone special this holiday season!
5th Grade
Activity
Make a Prefix-Suffix Flip Book
Activity
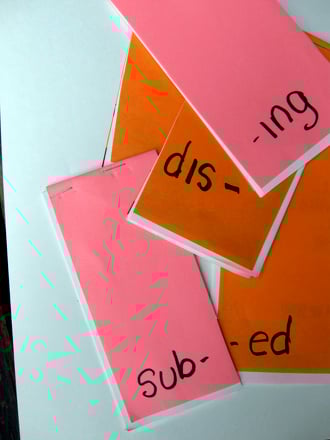
Make a Prefix-Suffix Flip Book
Create a prefix-suffix flip-book and help improve decoding skills and vocabulary.
English Language Arts
Activity
Make a Mother's Day Book
Activity
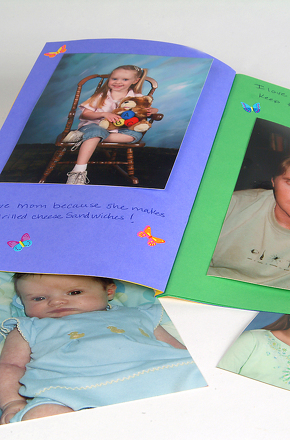
Make a Mother's Day Book
Let your third grader assemble this special book with words from the whole family.
3rd Grade
Activity