Activity
Make a Homemade Keepsake Book

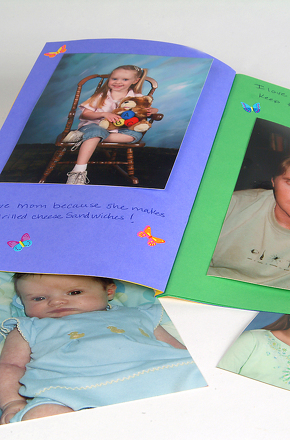
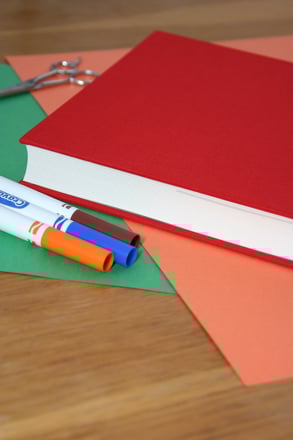
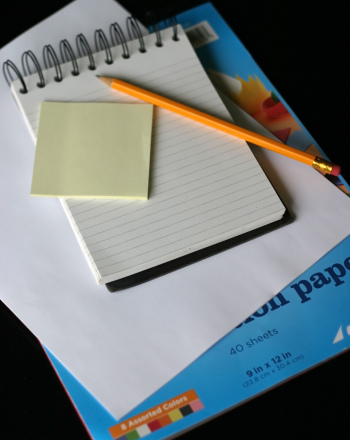
A homemade book is a great present for your child to make for someone special this holiday season! These keepsake books are charming and easy for little hands to create—fantastic qualities, especially when time's running out before the holiday. The best part is: You probably already have many of the supplies your child will need to whip up this adorable keepsake book lying around the house!
Related learning resources
Make a Book Jacket!
Activity
Make a Book Jacket!
Want to play publisher for a day? Become a book jacket illustrator for this creative and fun project.
5th Grade
Activity
Book Through the Summer
Activity
Book Through the Summer
To help keep summer memories alive, have your fifth grader utilize their writing skills to create a summer book keepsake!
English Language Arts
Activity
Homemade Pumpkin Pasta
Activity
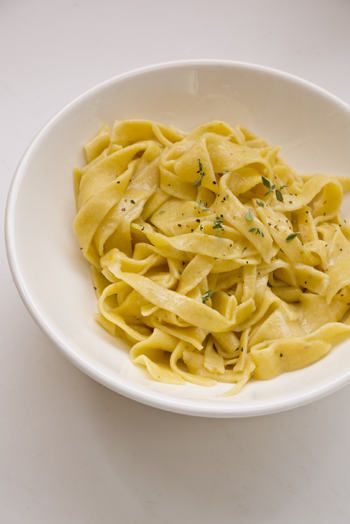
Homemade Pumpkin Pasta
Teach your child how easy it is to make homemade pasta, infused with delicious and nutritious autumn pumpkins.
5th Grade
Activity