Activity
Ribbon Curtains

Help your child turn her favorite thick, beautiful ribbon into cute and crafty curtains! She can make a set of fun, wavy blinds or a wall hanging to add some flair to her room. A desire to innovate and close attention to detail comes in handy with this project, but it's simple to make. And the best part: There's no sewing necessary! So, go ahead: Encourage her to make something that she can use, hang up, and be proud of!
Related learning resources

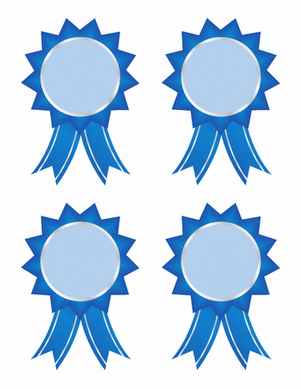
Ribbon Awards
Activity
Ribbon Awards
Craft these awards out of ribbon for a birthday, party, holiday, or any other event you can think of!
Preschool
Activity
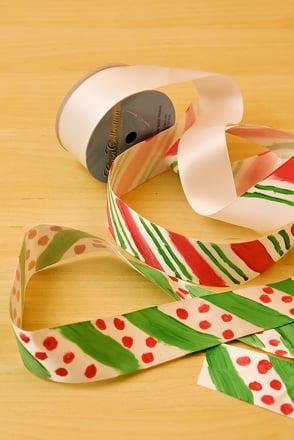
Make Your Own Ribbon
Activity
Make Your Own Ribbon
Make your own ribbon to give gifts that special touch. Enlist your preschooler or kindergartener to help create an extra special holiday ribbon this winter.
Kindergarten
Activity

Craft Puzzle Piece Curtains
Activity
Craft Puzzle Piece Curtains
Recycle materials found in your home to make trendy curtains for your child's bedroom. An old puzzle and some string is the perfect place to start.
Activity