Activity
Chicken vs Egg

Jazz up your checker set this spring by transforming regular old round checker pieces into baby chicks and eggs. This activity provides a great opportunity to introduce your child to checkers, a game that helps kids learn logical thinking and strategy. And the pieces are just so cute, kids won't want to stop playing.
Related learning resources

Chicken and Egg Finger Puppets
Worksheet
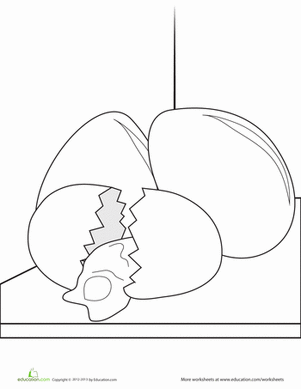
Chicken and Egg Finger Puppets
So which came first, the chicken or the egg? Well, now you can have both, with these adorable chicken finger puppets!
1st Grade
Worksheet
Make Chicken Souse
Activity
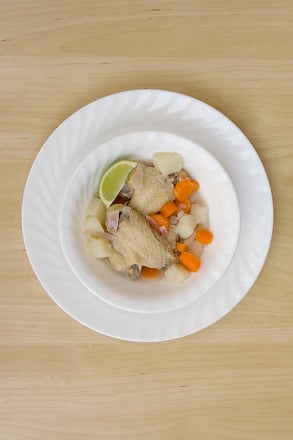
Make Chicken Souse
Chicken souse is a delicious dish native to the Caribbean. Much like American chicken soup, souse contains meat, broth and vegetables but with an island twist.
1st Grade
Activity
Chicken Life Cycle Worksheet
Worksheet
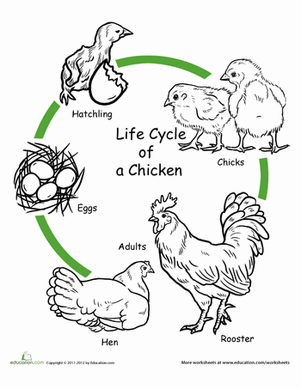
Chicken Life Cycle Worksheet
Explore life science with this informative chicken life cycle worksheet. Help your student color and learn the names of each stage of a chicken's life.
1st Grade
Science
Worksheet