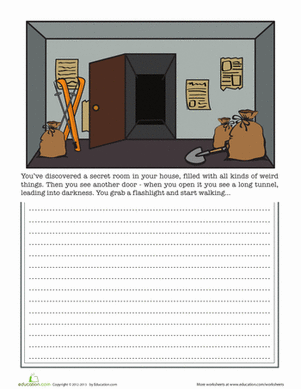
Activity
Create a Secret Storage Book!

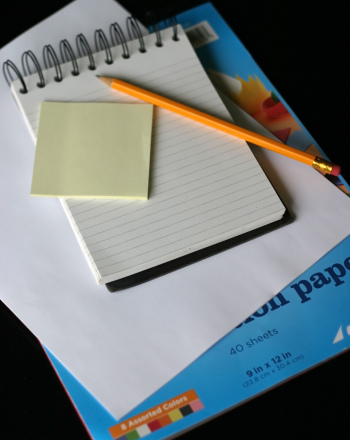
What child doesn’t love to have a secret hiding place? And what better hiding place than an old book? Hollowed books provide the perfect secret space to keep a small stash of money, candy, or toys. Here's an activity that'll show you and your child how to construct your own secret storage book.
For this project, you'll need a book. Many libraries or yard sales offer old hardback books that can be a great starting place for this project. Ideally, you'll want to choose a book title that people think is worth reading, but one they won’t be tempted to pick up and flip through themselves. That way the book blends in, and no one will know the hidden treasures it contains!
Related learning resources
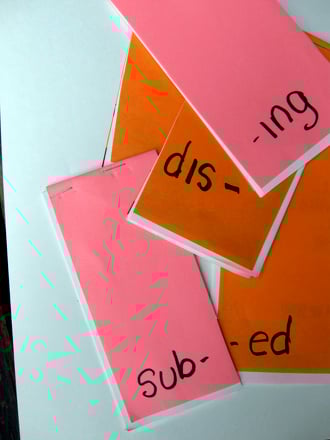
Make a Prefix-Suffix Flip Book
Activity
Make a Prefix-Suffix Flip Book
Create a prefix-suffix flip-book and help improve decoding skills and vocabulary.
English Language Arts
Activity
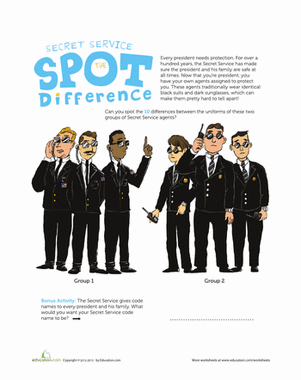
Secret Service Agents
Worksheet
Secret Service Agents
The Secret Service is a group of people who constantly protect the president. See if you can spot the differences among the typical black suits and sunglasses.
4th Grade
Worksheet

Flip Book Animation
Lesson plan
Flip Book Animation
In this lesson, students will learn the word 'animation' and create an animated figure in a flip book.
4th Grade
Science
Lesson plan