Activity
Valentine Mailbox

With Valentine's Day comes the expectation of sweets, flowers, and—perhaps, biggest of all—cards! This traditional day to express affection to loved ones is the second largest card-sending holiday of the year. Get your child prepared for the influx of greeting cards from classmates and relatives by creating a valentine mailbox for the occasion. This fun project will enhance your child's fine motor skills and reinforce the importance of recycling and reusing old materials.
Related learning resources
Valentine Shapes
Worksheet
Valentine Shapes
Valentine shapes get your child to practice basic geometry while celebrating Valentine's Day. See what valentine shapes you can find in this worksheet.
Kindergarten
Worksheet
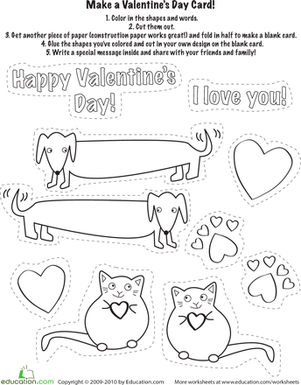
Dog Valentine Picture
Worksheet
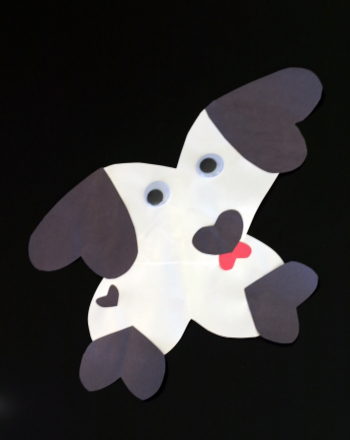
Dog Valentine Picture
This dog valentine picture is fun to color in and festive for Valentine's Day. Decorate this dog valentine picture with crayons, markers, and glitter.
Kindergarten
Worksheet
Valentine Butterfly
Activity
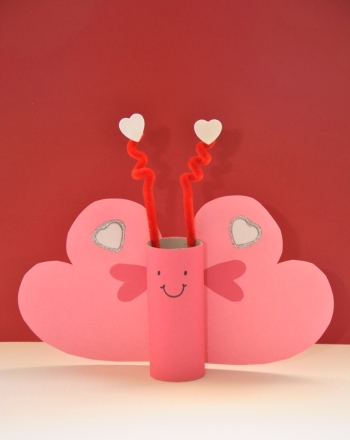
Valentine Butterfly
Introduce shapes to art projects with this fun Valentine-themed craft.
Kindergarten
Activity