Activity
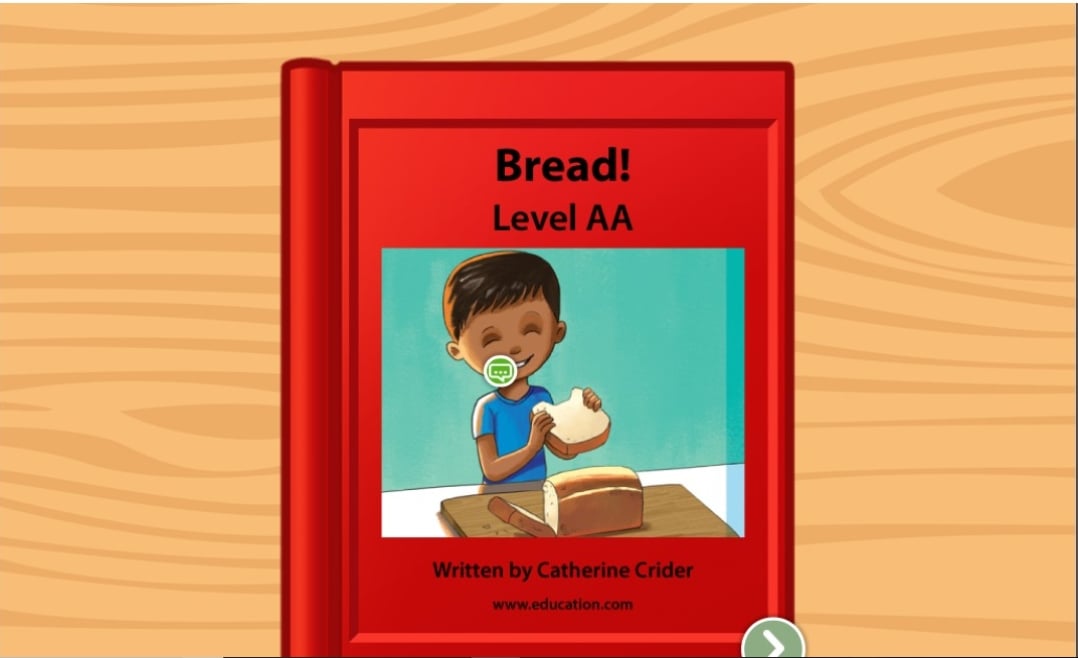
Learn How to Make Bread from Yeast Dough

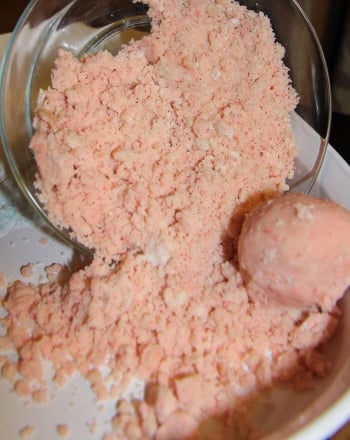
Try making bread with your preschooler to teach her about the fascinating world of yeast and bread baking! She'll have fun watching the yeast come alive while learning about the science behind making bread. This activity will also help her develop her fine motor skills as she helps knead the dough and introduce her to the joys of home cooking as she munches on warm bread straight from the oven.
Related learning resources
Create a Bread Sculpture
Activity
Create a Bread Sculpture
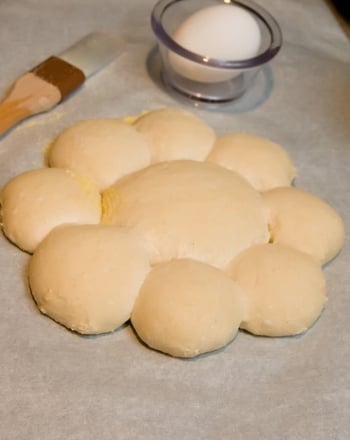
Let your preschooler create something cute while making something delicious to eat: create bread sculptures, or shapes of bread dough!
Preschool
Activity

Make Your Own Edible Play Dough
Activity
Make Your Own Edible Play Dough
Make an edible play dough with your child to help her develop her sensory and motor skills.
Preschool
Science
Activity

How to Make a Menorah
Activity
How to Make a Menorah
Learn how to make a menorah with this simple Hanukkah craft. See how to make a menorah for the Festival of Lights.
Preschool
Activity