Activity
Clay Landscape

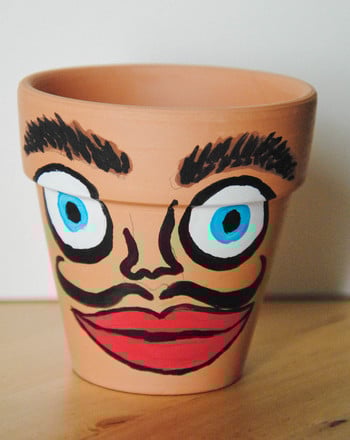
Landscape and other related art (seascapes, riverscapes, cityscapes, and so on) represent many of the illustrations or paintings of outdoor scenery. Natural in setting, landscapes often focus on features such as mountains, trees, plants, or rivers. This environment-oriented content makes for an excellent way to introduce your child to the artistic process.
In this activity, invite your child to capture the world around them with this outdoor scene clay scape that will let them explore clay in a very different way than what they may be familiar with. This activity encourages and supports creative development and critical thinking skills.
Related learning resources
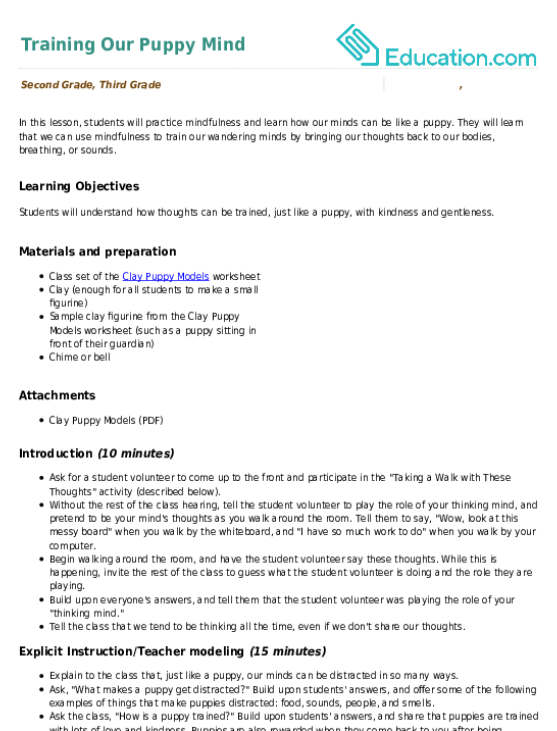
Clay Puppy Models
Worksheet
Clay Puppy Models
In this activity geared toward second and third graders, kids will create clay puppy models to remind themselves that they have the power to train their minds when they wander—just like a puppy!
2nd Grade
Worksheet

Make Clay Idioms a "Piece of Cake"!
Activity
Make Clay Idioms a "Piece of Cake"!
Refresh your third grader's understanding of idioms with this hands-on art activity that encourages him to manipulate clay to represent his favorite idiom.
Activity

Clay Enzyme
Activity
Clay Enzyme
...Now make a Non-Competitive Inhibitor by taking a wad of clay....
3rd Grade
Science
Activity