Activity
Fauvist Painting

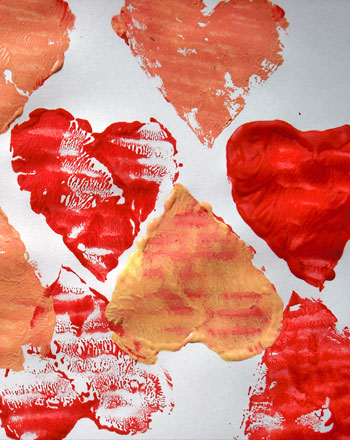
Fauvism, which means “Wild Beast”, was a French art movement that lasted from 1904–1908 and encouraged wildly expressive brushwork and vivid colors. Fauvist painters were famous for their surreal landscapes filled with vibrant colors. Let your child's wild creativity come out on paper. This activity is a wonderful experiment in color and freedom of expression.

Related learning resources
Gourd Painting
Activity
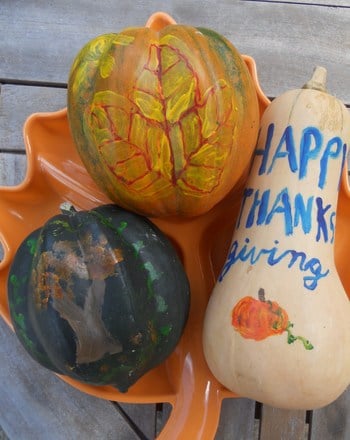
Gourd Painting
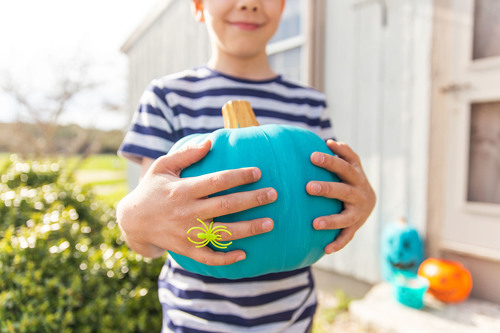
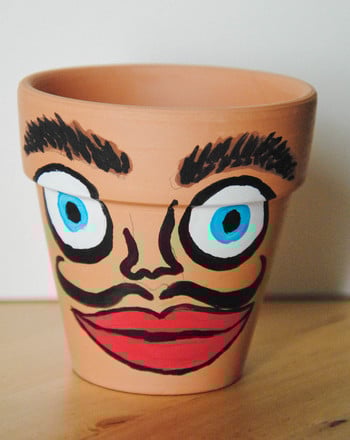
Gourd painting is a fun fall activity that makes for perfect Thanksgiving decorations. Try gourd painting with your child for some seasonal fun this autumn.
3rd Grade
Activity

Reflection Painting
Activity
Reflection Painting
In this painting and drawing project, not only will stars shine in the evening sky over the skyscrapers, they will also create a waterfront reflection.
3rd Grade
Activity
Reverse Glass Painting
Activity
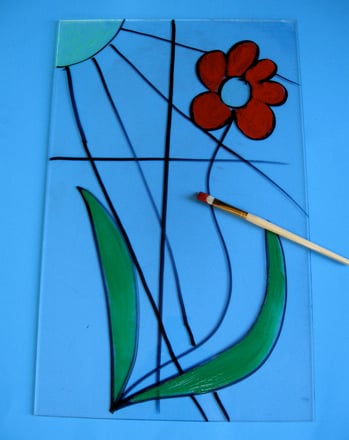
Reverse Glass Painting
Encourage your third-grader to create a reverse glass painting. This will help him learn art concepts and improve his critical thinking skills.
3rd Grade
Activity