Activity
Make a Picasso Mask

Most people know the Spanish artist, Pablo Picasso, for his surreal and abstract paintings, but he also worked with clay. Much of his work was largely influenced by African artifacts, inspiring him to produce pottery, but also to create paint-and-paper masks on figures in his work.
Help your child get inspired by Picasso's inspiration! This project shows him how to create a Picasso-style, three-dimensional mask. He'll experiment just like the master, adding in vivid colors and wild patterns as he sees fit.
Related learning resources
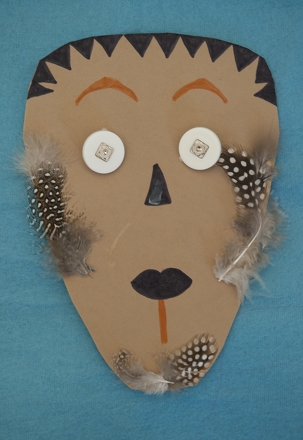
Make an African Mask
Activity
Make an African Mask
Help your child to make a beautiful Africa mask to help her reinforce important spatial and compositional skills.
5th Grade
Social studies
Activity
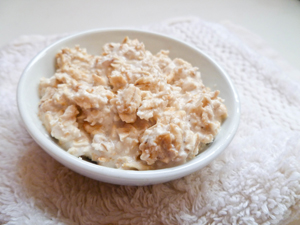
Oatmeal Face Mask
Activity
Oatmeal Face Mask
This tried-and-true complexion treatment is a slumber-party staple that many people swear by.
5th Grade
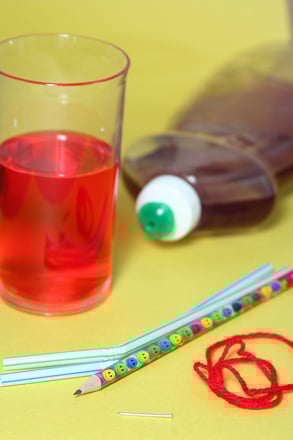
Activity

Make a Holiday Scarf
Activity
Make a Holiday Scarf
Have your child make a holiday scarf with inexpensive materials, no sewing required!
5th Grade
Activity