Preschool Paper & Glue Crafts Activities
108 results
Activities
✕Pre-K
✕Paper & Glue Crafts
✕108 results
Preschool Paper & Glue Crafts Activities
108 results
Activities
✕Pre-K
✕Paper & Glue Crafts
✕108 results


About Preschool Paper & Glue Crafts Activities
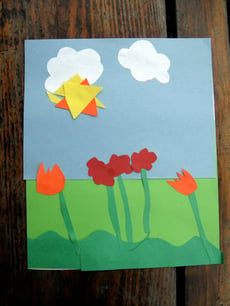
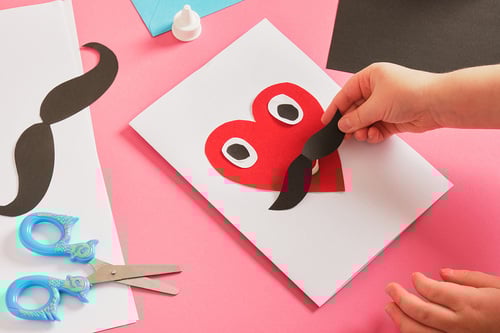
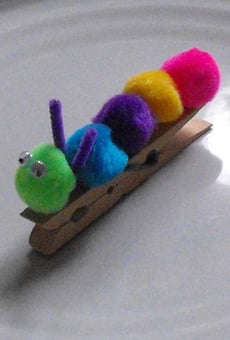
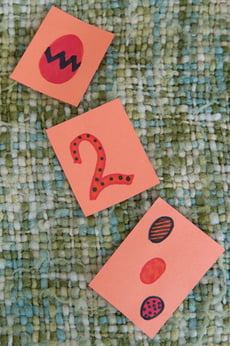
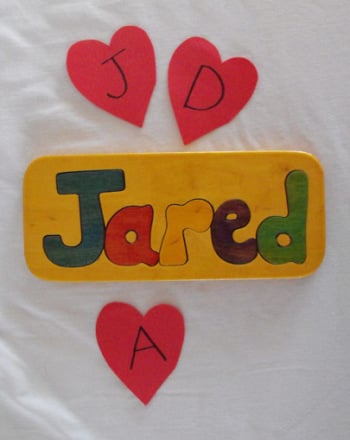
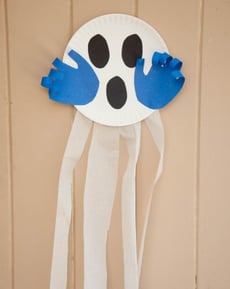
On Education.com, preschool paper and glue crafts activities build fine motor skills and creativity through simple projects like paper chains, handprint butterflies, dinosaur hats, paper plate animals, and collage art using basic materials such as construction paper, glue, scissors (with supervision), and optional decorations like markers or glitter. These hands-on activities teach concepts like shapes, colors, and counting while sparking imagination. Each project encourages children to explore their artistic abilities in a playful, educational way.
Aus on Education.com, browse printable preschool paper and glue crafts worksheets that guide parents and teachers through step-by-step instructions for creating engaging craft activities. These resources help shape children’s early learning experiences by combining artistic expression with learning fundamentals. Using themed or imaginative design templates, students can develop creativity while strengthening hand-eye coordination and concentration. Accessing ready-made materials saves time and provides structure for arts and crafts sessions.
Discover how structured craft lessons and open-ended art ideas on Education.com make hands-on learning enjoyable and productive for preschoolers. By providing a variety of craft templates, parent guides, and classroom lesson plans, educators and parents can promote artistic exploration, fine motor development, and concept recognition. Building a diverse set of craft activities creates memorable experiences that support early cognitive and social skills.