Kindergarten Paper & Glue Crafts Activities
200 results
Kindergarten
✕Activities
✕Paper & Glue Crafts
✕200 results
Kindergarten Paper & Glue Crafts Activities
200 results
Kindergarten
✕Activities
✕Paper & Glue Crafts
✕200 results


About Kindergarten Paper & Glue Crafts Activities
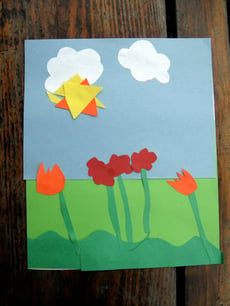
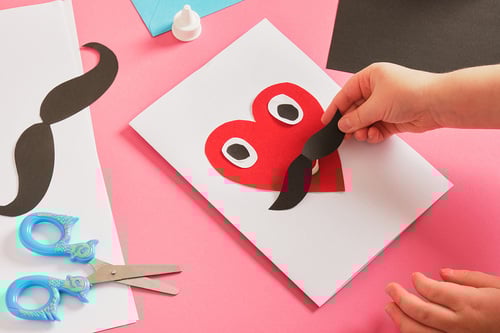
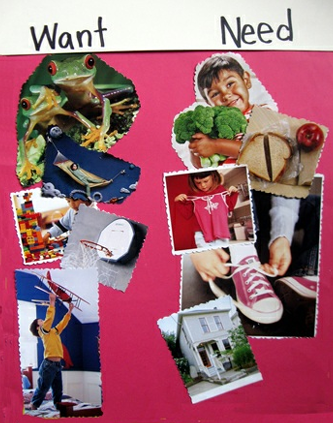
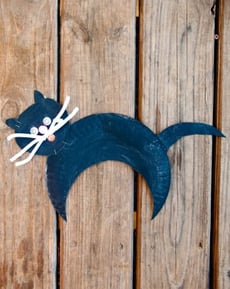
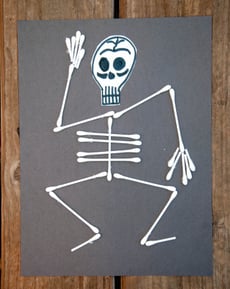
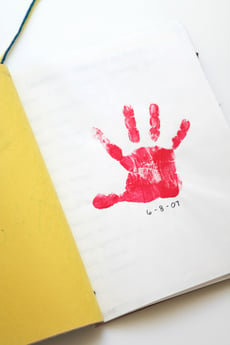
On Education.com, kindergarten paper and glue crafts focus on simple cutting, gluing, and decorating, making them perfect for developing fine motor skills. Kids can create paper chains, handprint animals, construction paper flowers, paper plate masks, and collage art. These activities are versatile and suitable for seasonal themes or everyday fun, helping children practice hand-eye coordination while expressing creativity.
Educators and parents can explore a variety of printable craft templates, step-by-step guides, and themed activity pages on Education.com. These resources help children practice early art and crafting skills while making learning engaging. Materials include ready-to-use worksheets, project ideas, and interactive templates designed to be accessible for young learners.
By using these educational craft activities, adults can facilitate structured, hands-on learning experiences that strengthen fine motor abilities and encourage creativity. These resources support young children as they explore artistic expression, planning, andFollowing paper and glue craft instructions is an enjoyable way to combine arts and crafts into learning. Access hundreds of kindergarten paper and glue craft activities on Education.com to make crafting fun, educational, and rewarding.