2nd Grade Paper & Glue Crafts Activities
152 results
Activities
✕2nd Grade
✕Paper & Glue Crafts
✕152 results
2nd Grade Paper & Glue Crafts Activities
152 results
Activities
✕2nd Grade
✕Paper & Glue Crafts
✕152 results


About 2nd Grade Paper & Glue Crafts Activities
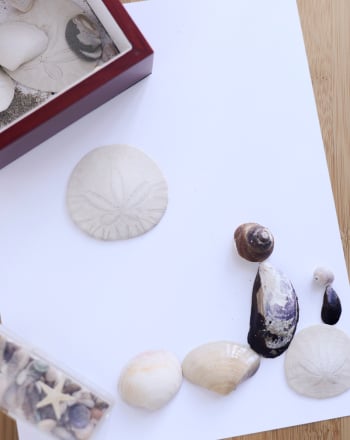
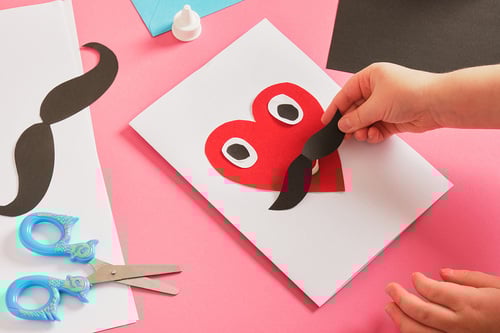
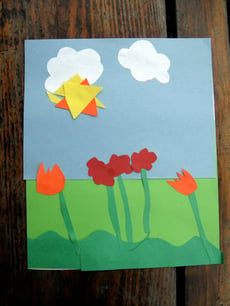
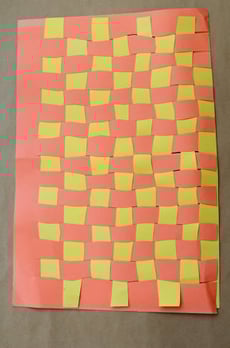
On Education.com, second-grade paper and glue crafts emphasize hands-on projects that develop fine motor skills, creativity, and planning. Educators and parents can access printable activity pages and step-by-step guides for projects like paper animals, seasonal decorations, and simple 3D art. This content provides engaging activities that combine crafting with lessons in shape recognition, symmetry, and spatial awareness.
The resources include a wide variety of tutorials and worksheets for building skills such as cutting, gluing, and decorating using accessible materials like construction paper, scissors, and glue. Educators can use these materials to create structured classroom projects, while parents can incorporate them into at-home learning or boredom-busting craft ideas. Each activity is designed to be accessible for second-graders and encourages confidence in children’s artistic and motor development.
Spaces on Education.com allow you to browse multiple second-grade paper and glue craft projects and tutorials that guide you step-by-step through each project. Using these materials can save time by providing ready-to-use lesson plans, structured activity instructions, and creative project ideas that inspire children to craft independently or as part of a group. This combination of educational art activities supports hands-on learning, fine motor practice, and creative expression in an accessible format.