2nd Grade Recycled Crafts Activities
55 results
Activities
✕2nd Grade
✕Recycled Crafts
✕55 results
2nd Grade Recycled Crafts Activities
55 results
Activities
✕2nd Grade
✕Recycled Crafts
✕55 results


About 2nd Grade Recycled Crafts Activities
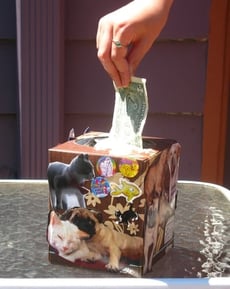
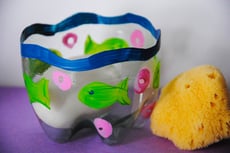
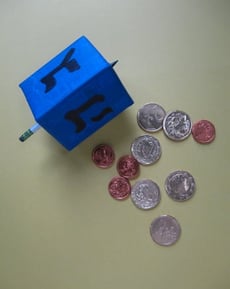
On Education.com, second-grade recycled crafts activities harness everyday items like paper towel rolls, plastic bottles, and yogurt containers to create fun and educational projects. These crafts introduce young children to recycling concepts while encouraging creativity through activities such as making bird feeders, rockets, or animal figurines. By engaging in paper, cardboard, and craft material-based projects, students learn about environmental responsibility in a tangible way.
Educators and parents can access a variety of printable resources and worksheets on Education.com that demonstrate how to transform recycled materials into inventive arts and crafts. The site provides step-by-step lesson plans, activity pages, and project ideas tailored for 2nd-grade learners, supporting both school and at-home learning.
Practitioners can use these recycled craft activities to teach foundational STEM and hands-on arts skills, while also fostering critical thinking and resourcefulness. Accessing these materials can simplify planning, save preparation time, and create engaging lessons that promote sustainability alongside creative expression.